Table of Contents
Creating the Contract Confirmation Document
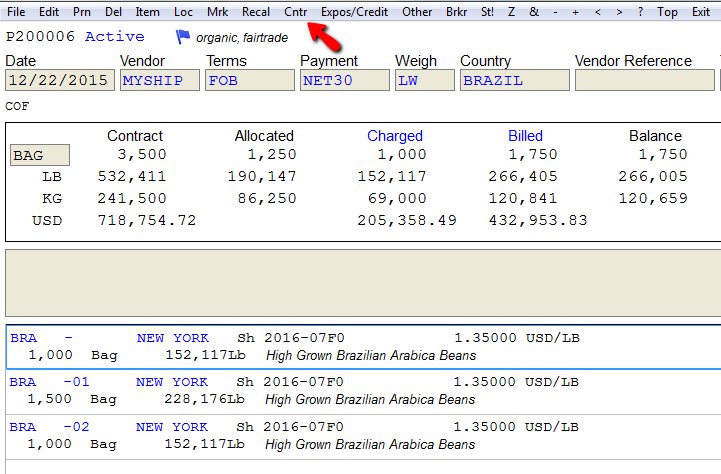
The contract confirmation (also called the written contract) is the legal document you send to a counterparty that contains the details of an agreement. From the Contract Main Screen, select “Cntr*” from the menu. The * (asterisk or star) indicates that no confirmation exists for this contract.
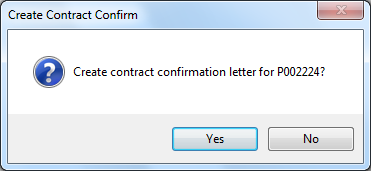
CATS will ask you to confirm the creation of this contract confirmation. Select Yes to proceed.
Selecting a Template
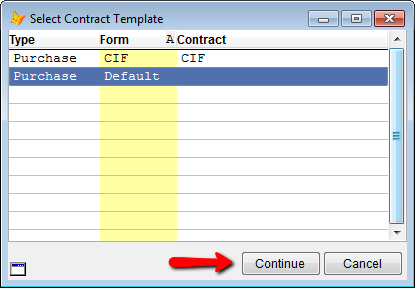
A list of currently available templates will pop up. Select a template from the list and pick Continue.
Templates allow you to put specific language on a type of contract (commonly in the Conditions portion of the contract) that is pulled in whenever you choose to create a new confirmation using that template.
CATS will fill in the details of the confirmation letter from the descriptions you have set up for codes, the quantities and prices you entered on the contract items, and any language included on the template. For more information, see the wiki page on Where does the language on the contract confirmation come from?
Contract Confirm Screen
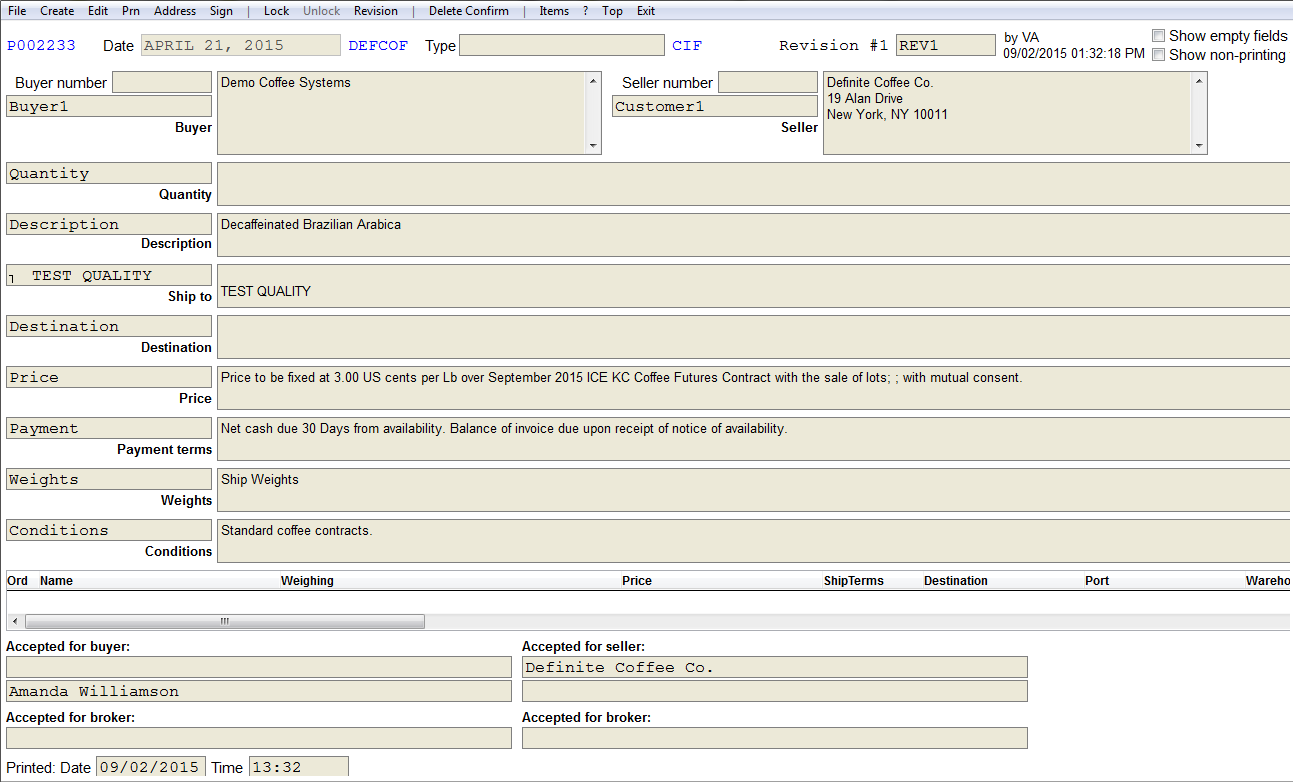
The following information is on this screen:
- Purchase order date and type
- Buyer and seller information and addresses
- Quantity and description
- Ship to and destination
- Price, payment terms, weights and conditions
The bottom of the contract will be the signatures and dates of the broker or seller acceptance.
Contract Confirm Menu
The toolbar menu provides you with all the options you need to produce this confirmation.
Create
Create a new contract confirmation letter for the current contract. CATS supports multiple contracts if you have this option selected.
Edit
Modify the fields currently displayed on the screen. Any language you add will not be added to the template or to fields on the contract main or item screens; it will only display on the confirmation.
After you have finished modifying the fields on the screen, select the F2=Save/Continue button or push the [F2] key to save changes.
Prn
Prints the confirmation letter to the output of your choice. Choose from the print menu and proceed as usual to print the confirmation.
Address
Select the address to be used for the contract from the Names & Addresses file for the accounts associated with the contract.
Sign
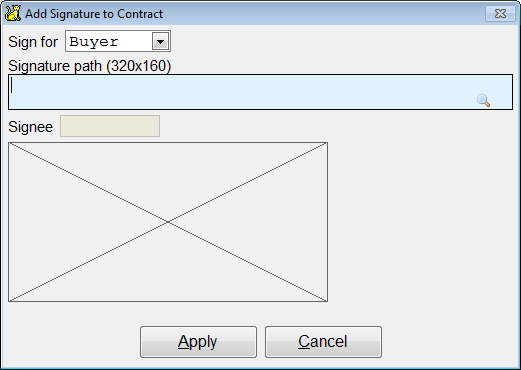
Add a signature to the contract confirm. A signature must be set up in user settings for this option to work.
Lock
Lock the confirm/revision and prevent any future editing (disabled/gray when locked). This will remain until you or another user unlocks the confirmation.
Unlock
Unlock the confirm and allow editing (disabled/gray when unlocked).
Revision
Add or review the revisions of this confirm. (CATS supports multiple contract confirm revisions). See below for more information on revisions.
Delete Confirm
Delete the latest contract revision.
If you select Delete, you will be asked to provide a supervisor password to continue.
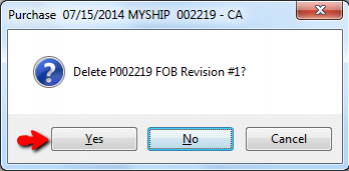
Next, CATS will ask you to confirm that you wish to delete the confirmation or revision. Select Yes to proceed or No to cancel.
Items
If your company is set up to do so, you can also display the items on a contract are in list format. From the Items menu, you can refresh, edit, or remove the items displayed in the item grid. Depending on your settings, the item grid will either be pulled in automatically or you will need to use the Items > Update menu option to get the items to generate.
Contract Revisions
CATS allows user to add or review the revisions of a contract confirm. CATS supports multiple contract confirm revisions.
Go to Contract > Purchases > Main and then select the purchase contract number you want to review or revise. Once the purchase is on screen go to Cntr from the menu bar.
Once the contract is on the screen, go to Revision > Add Revision.
Revising Contract Confirm box will show. Select if you want to Copy Current Confirm - Takes all information on the current contract OR New from Template - which will overwrite any changes you made to the original revision. For example, if you add any extra language to the quality field that would be over written with this selection.
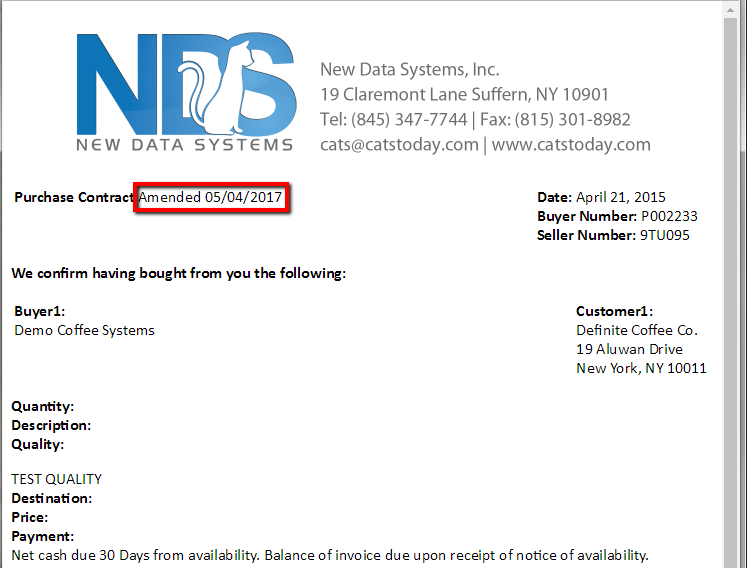
After you make your changes and save, the contract will show that it was revised on both the contract on screen and the print out.
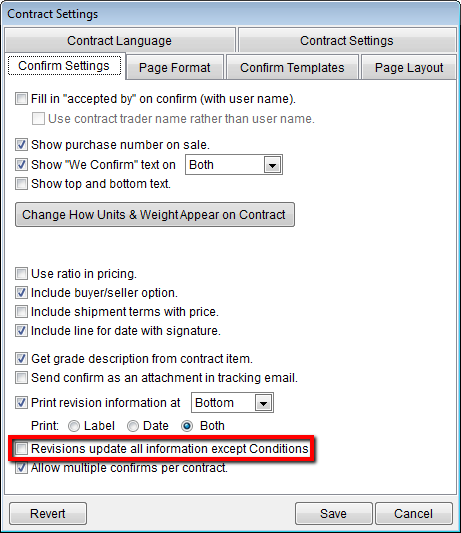
There is also another option to overwrite everything but conditions. Go to Maintenance > Setup > Contract Setup and check the box for revisions update all information except Conditions.
Reviewing the Contract
If you see Cntr (without an * asterisk or star)on the menu, then a contract confirmation has already been created and selecting Cntr will display it. From here, the contract confirmation can be reviewed, revised etc.
