Table of Contents
Changing Column Settings in CATS
Column settings control which columns appear and in what order, for all scans and documents in CATS.
Change or Modify Columns
There are a few ways in which CATS allows you to change columns in a scan. Go to the maintenance from the main menu, or use the question mark feature on the scan.
Change Columns from Setup
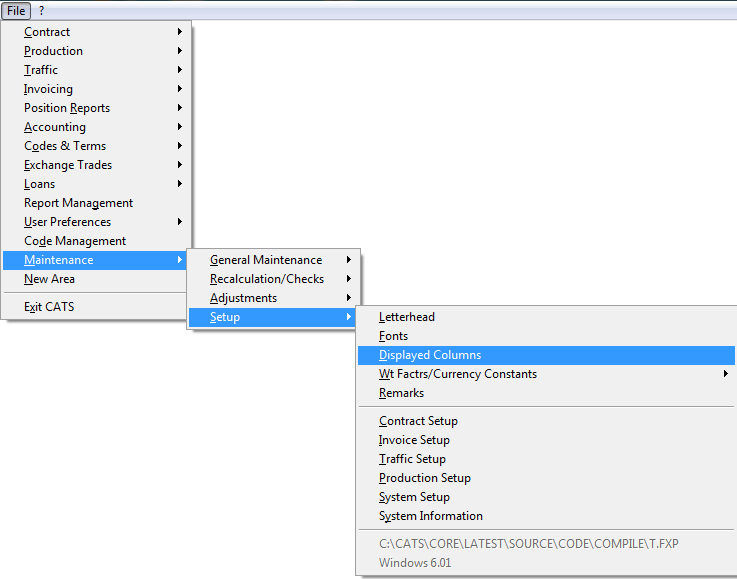
To change and/or order the column, go to Maintenance > Setup > Displayed Columns.
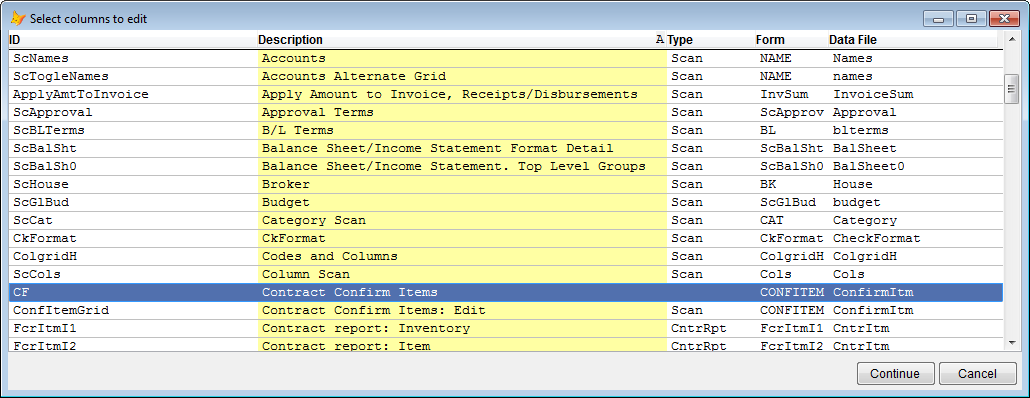
Select the columns template from the chooser and then press Continue.
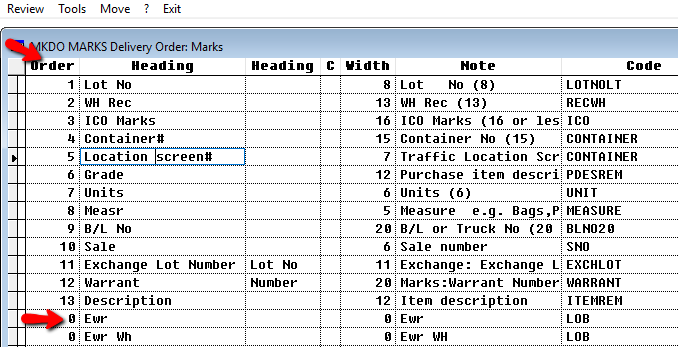
Here you can modify or change the columns.The order column, in this example, is numbered 1 to 13. All columns with numbers will show up on the document. If you do not want certain columns on the form, enter 0.
Exit will save any changes and return to the previous screen.
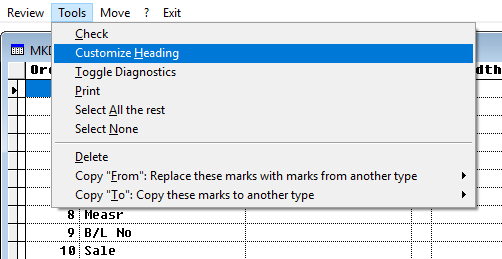
To create a custom heading, go to Tools > Customize heading.
Enter the new column header and press Ok to continue.
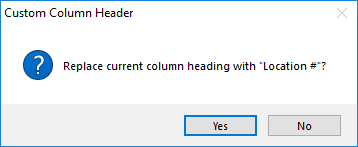
Press Yes to confirm your changes.
These changes will be saved on the columns template and on the form.
Change Columns from a Scan
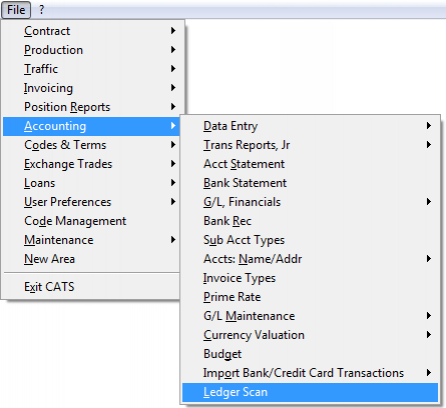
To change columns from a scan, go to any scan and use the question mark feature. For example, go to the main menu and select Accounting > Ledger Scan.
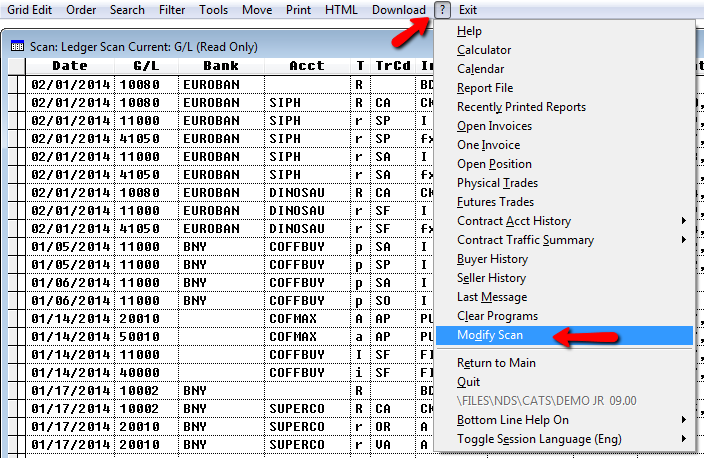
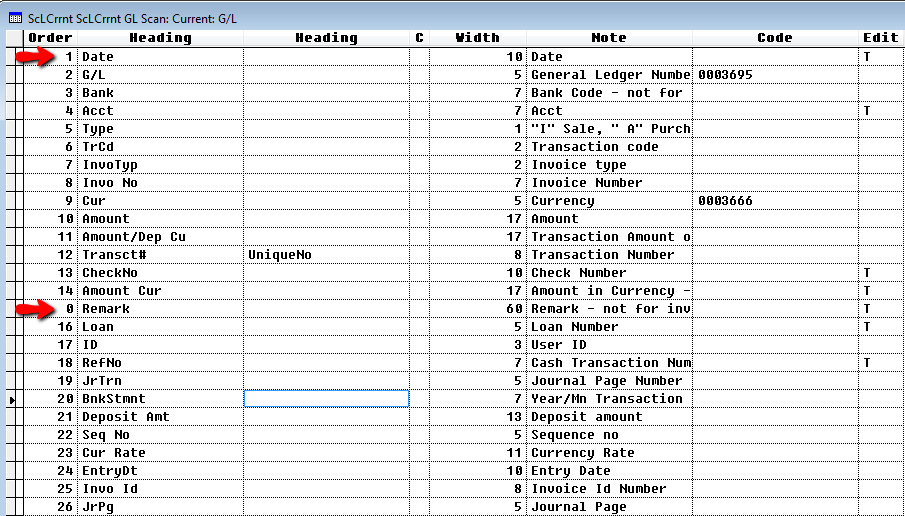
The ledger scan will come up and then you choose the Question Mark and then Modify Scan from the menu.
Here you can modify or change the columns. The order column, in this example, is numbered 1 to 26. All columns with numbers will show up on the scan. If you do not want certain columns on the scan enter 0.
Exit takes you back to the ledger scan screen.
Choose Marks Column
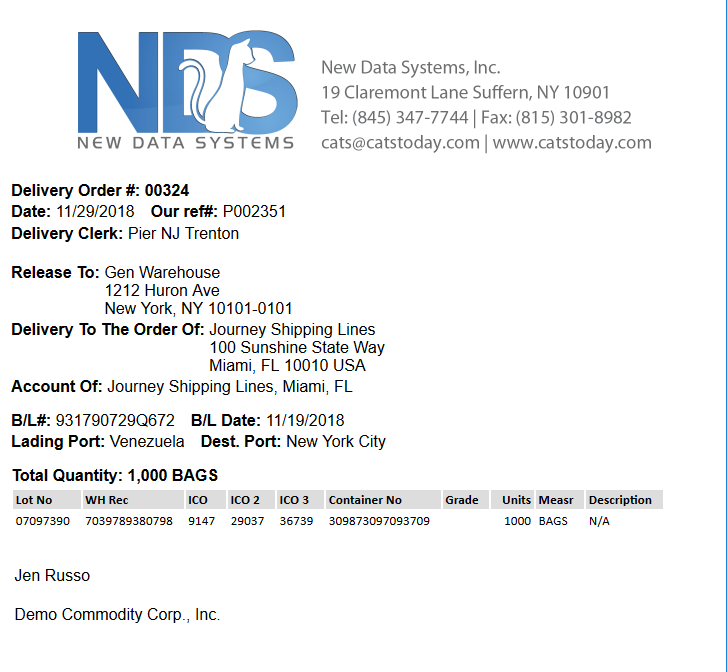
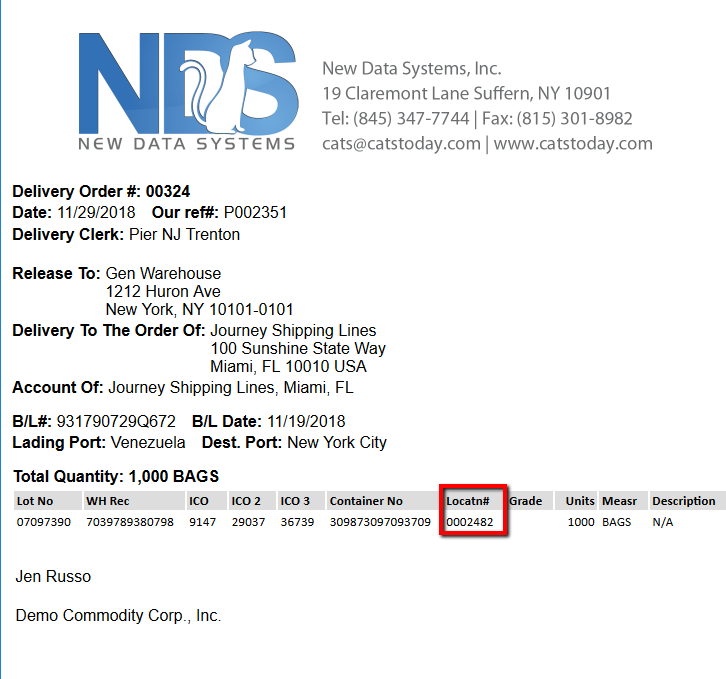
You can change how columns appear on forms in CATS. For example, here is a printed DO that needs the location column printed on it.
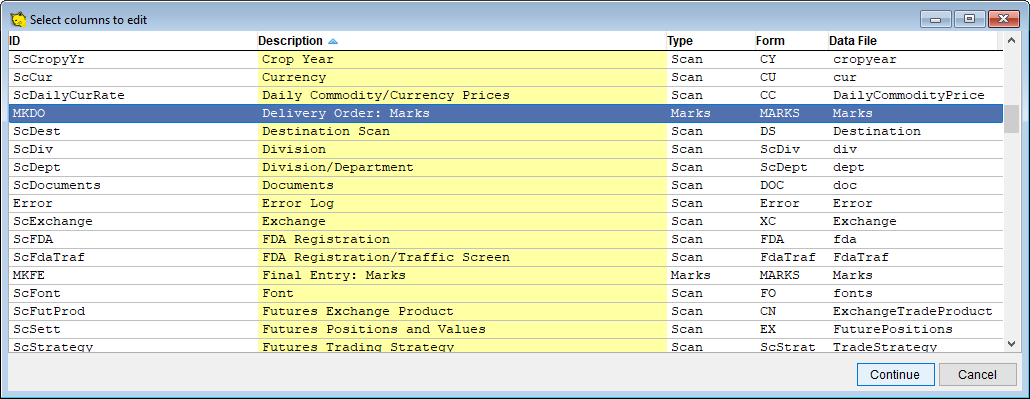
Go to Maintenance > Setup > Displayed Columns and select the marks columns template from the chooser. In this example, we choose MKDO. Press Continue.
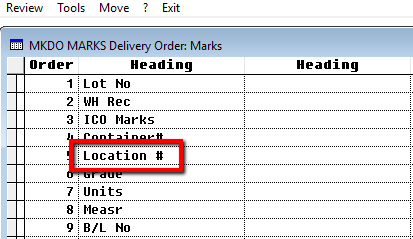
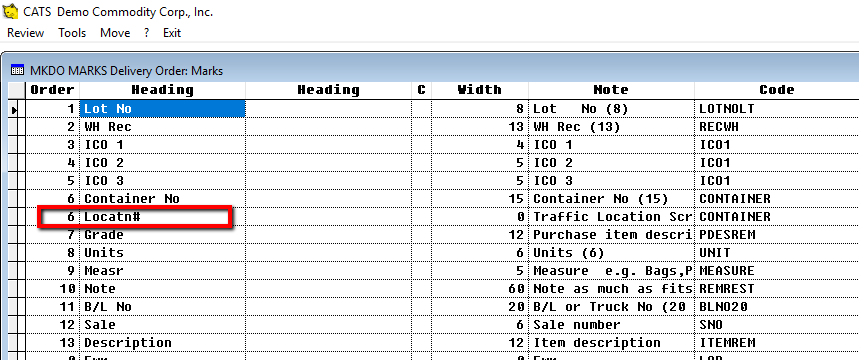
Add in the column you want by placing a number under the Order column. Exit will save any changes and return to the previous screen.
The column has been added. It will now show up on the delivery order.
