Futures Position and Product Setup
Before you can begin using trade and hedge features of CATS, you will need to create exchange products and set up monthly prices for each exchange, exchange product, and month on the exchange. You can also use multiple currencies in the system. To begin using currencies, you must first add the currency as an exchange product and an exchange, then you can enter a default currency rate to be used. To see wiki on setting up currencies click here.
Exchange
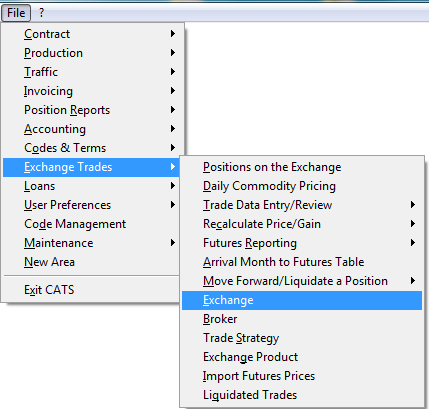
To create an exchange, go to Exchange Trades > Exchange.
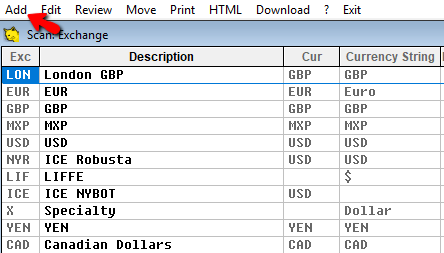
To add an exchange, go to Add on top menu.
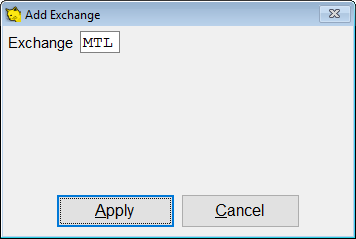
Add exchange code and Apply.
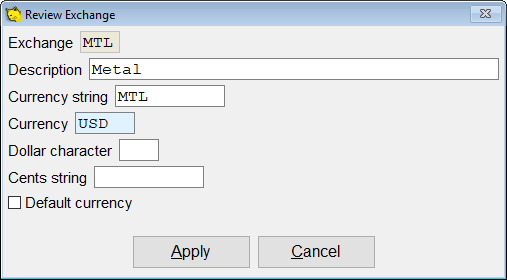
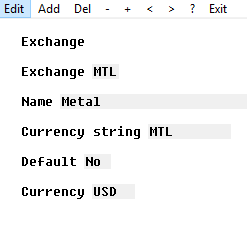
Add in the description, currency, etc. and then Apply to complete adding the exchange.
When finished, the edit review screen will appear. Select Exit to go back to the list of exchanges.
Exchange Product
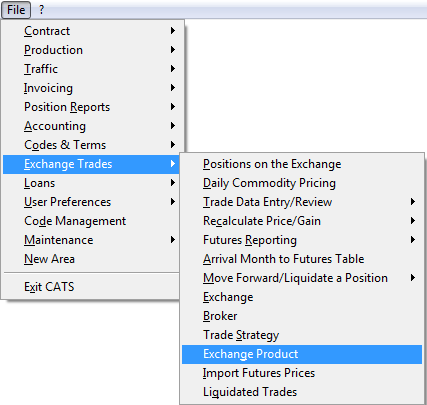
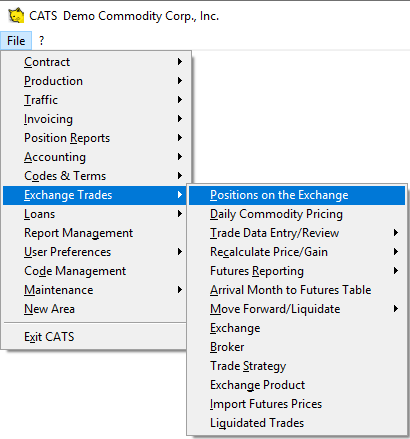
To add an exchange product, go to Exchange Trades > Exchange Product.
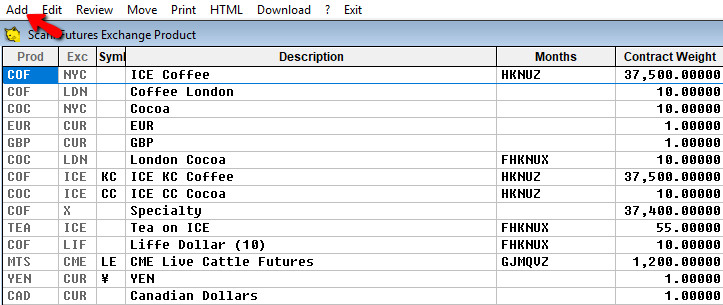
Select Add from the top menu, to add the exchange product.
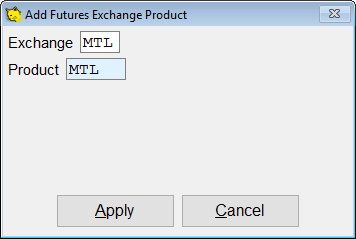
Add in the exchange product, and then Apply to continue.
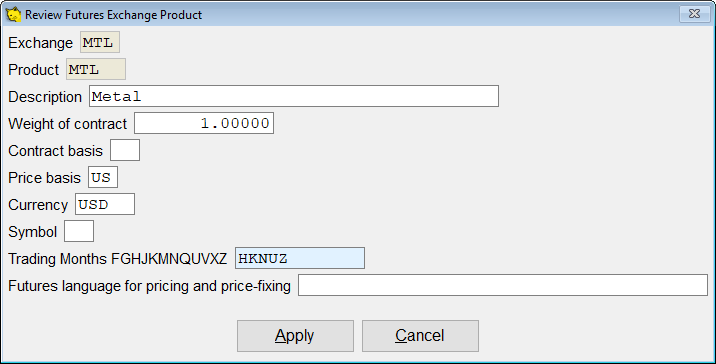
Complete adding the exchange product on this screen. Press Apply to continue.
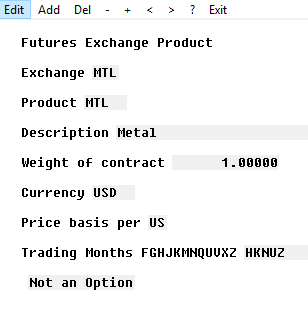
When finished, the edit review screen will appear. Select Exit to go back to the list of exchanges.
Positions on the Exchange
Once the exchange product is added, you can go in to add the position and prices. Go to Exchange Trades > Positions on the Exchange.
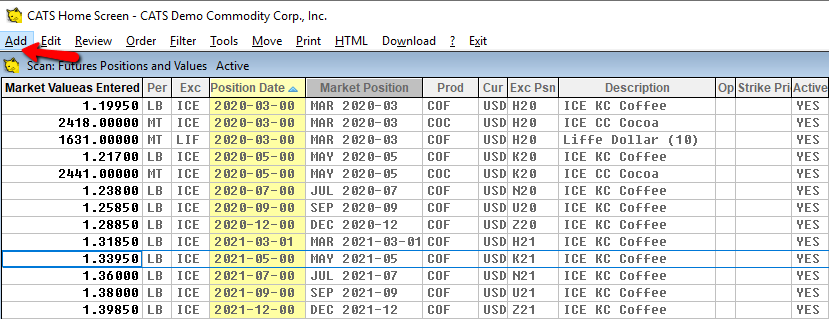
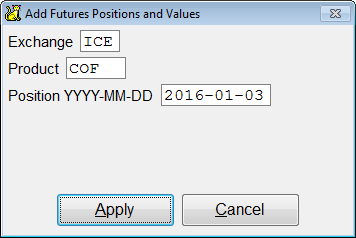
Select Add from the top menu to add the future position.
Add the futures position and then select Apply.
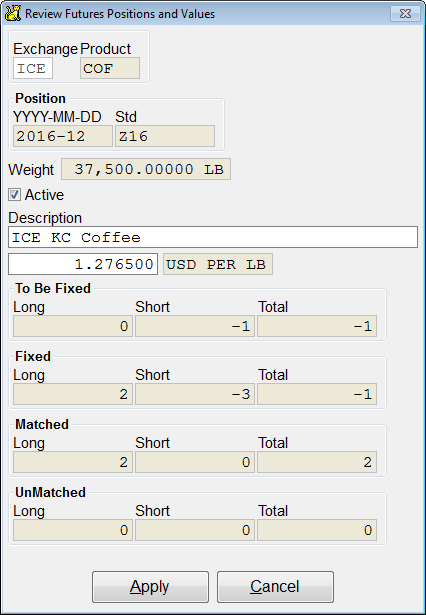
Next add the price and then select Apply.
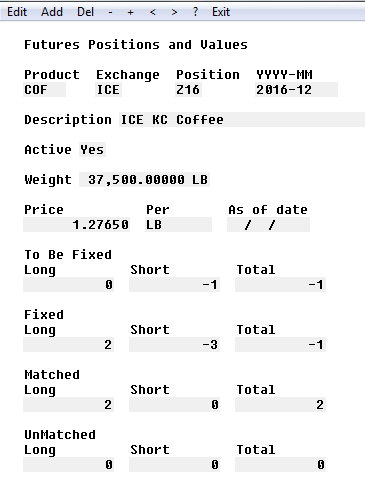
Once you have added the information, a review screen will show. Select Exit to return to the list of exchanges.
Arrival Month to Futures Table
The Arrival Month to Futures Table, also called Valuation, will show you the shipment/arrival date and the futures date. When you look at a contract purchase item, you will see a shipment position and the valuation position.
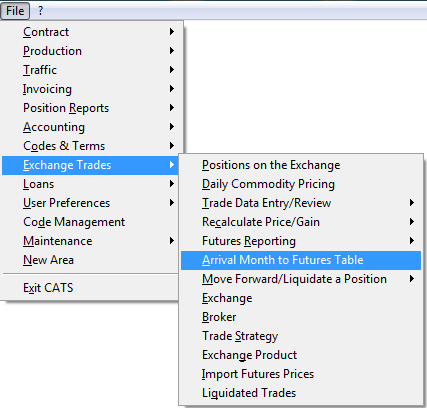
To view or edit the futures table, go to Exchange Trades > Arrival Month to Futures Table.
The shipment/arrival dates and futures dates will show on this screen.
Select Tools, to delete old records or move ahead one year.
- Delete Old Records will delete everything before the current month.
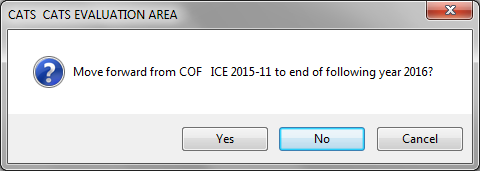
- Move Ahead One Year will add all the same records for the next year.
If you choose to move forward an exchange ahead one year, you will have to say Yes.
Select Exit to return to the futures table. Select Exit again to return to the main menu.
