Creating a Sale when Allocating
Note: To perform this operation, you will need permissions to create sale contracts and create sale contract items. If you do not have these permissions please contact your CATS administrator.
In addition to allocating to an existing sale, you can also create a new sale from the allocation dialog. From the location screen, select Alloc from the menu. This will bring up the allocation dialog.
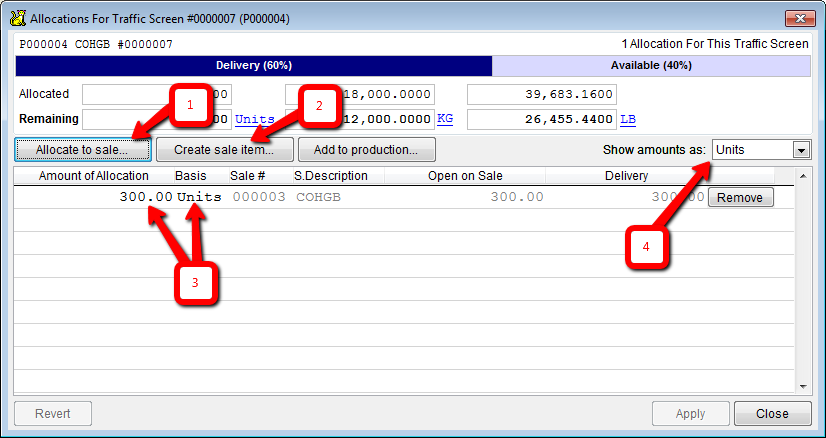
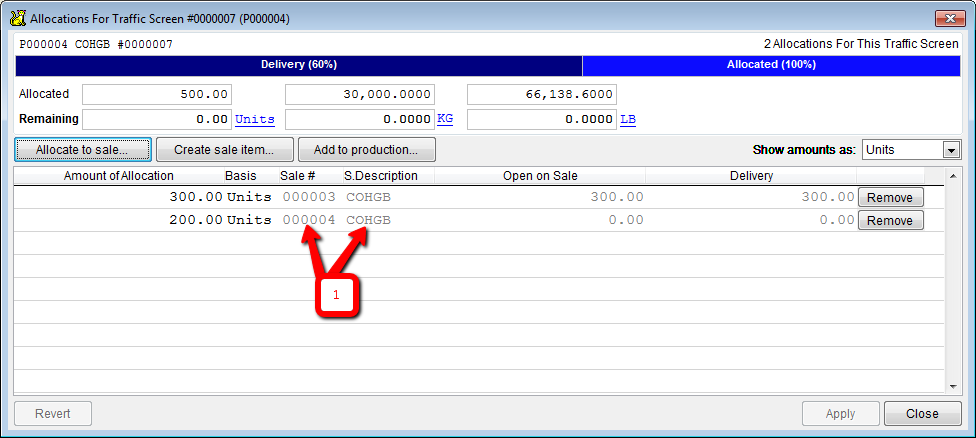
Click on the button labeled “Create sale item…” [2]
CATS will prompt you to either create a completely new sale or add an item to an existing sale.

If you choose to add to an existing sale, you will need to specify the existing sale contract. The allocation dialog will update with your selection.
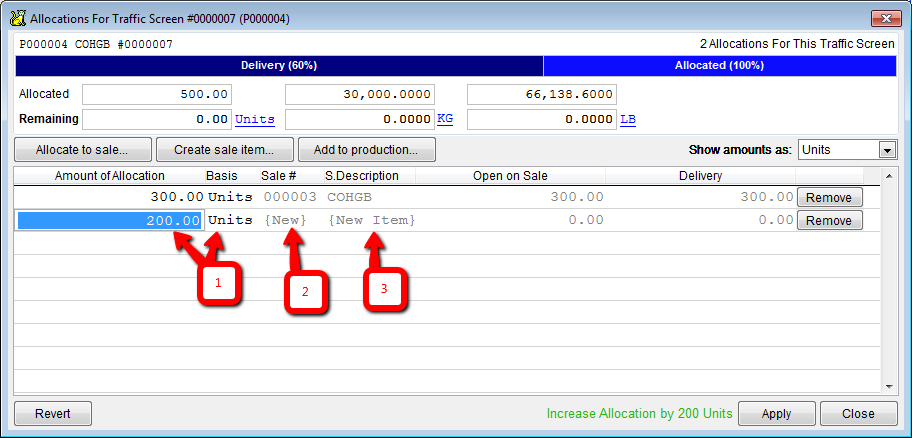
A new entry in the allocation dialog will be created showing the sale [2] and sale item to be created [3]. By default, CATS will set the amount to allocate as the total unallocated units for the location screen. If you want to allocate less material, modify the amount to allocate [1]. When everything is set click on “Apply”.
Creating the Sale
If you are creating a new sale contract, you will then begin the process of adding the sale contract. (If you are adding to an existing sale, then you will skip this step.)
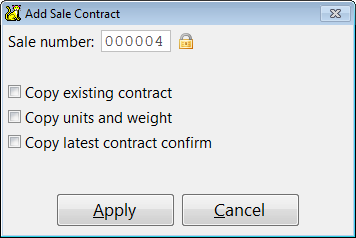
Enter the contract number for the newly created sale contract and specify whether you want to copy information from an existing contract.

Enter the sale information and select Save from the menu (or press F2) to continue.
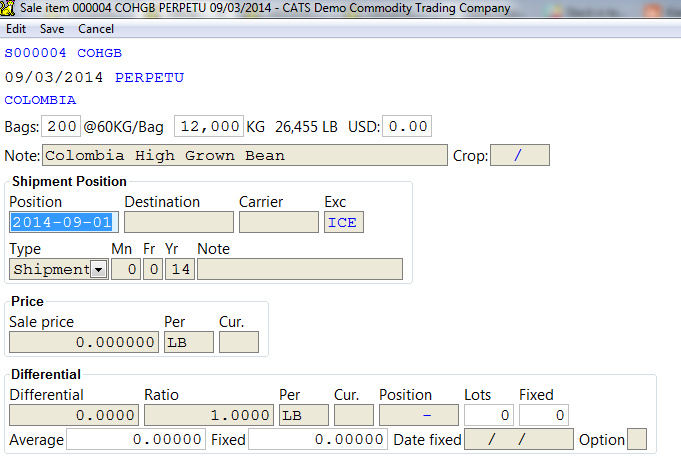
Creating the Sale Item
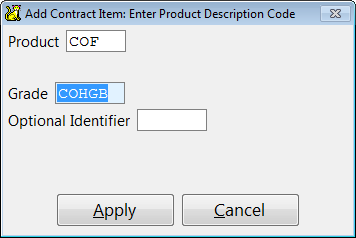
The sale item will default to the grade of the material on the location screen. You can change the grade code here and other item information, if you wish to cross-allocate.
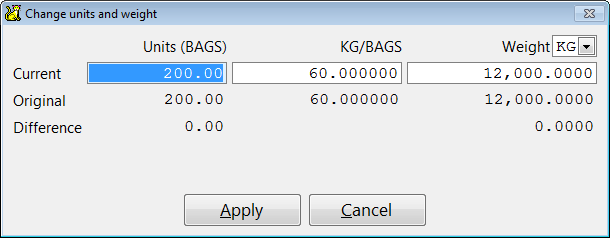
The sale item will default to the units and weight specified on the allocation. You can modify the units and weight of the sale item here, but the allocation will remain the same size. (e.g. If you increase the units to 2,000 units, then the item will have 2,000 units with only 1,000 allocated).
Finish editing the sale item and select Save from the menu (or press F2) to complete the operation. (Note: If you entered multiple new items on the allocation dialog you will repeat this process for each one.)
Once you have completed entry for all the newly created items, the allocation dialog will display again showing the newly created sale item(s) in the list.