How to Print Checks from CATS
Before printing on check paper, please see the section on Setting up the Check Format below.
Quick Guide Steps
- From the main (File) menu, select Accounting > Transactions > Disbursements.
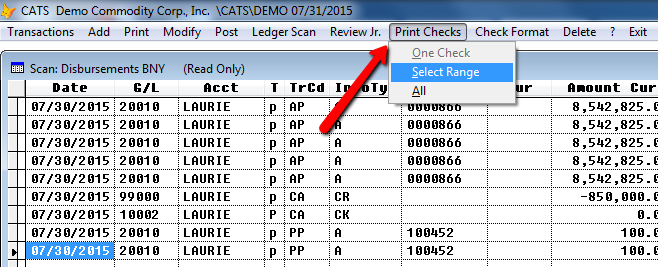
- Choose Print Checks and one of the three options (One Check, Select Range, or All) from the toolbar menu.
- Select the invoices from the chooser (if applicable) and pick Continue.
- Confirm you want to print checks by clicking Yes when prompted.
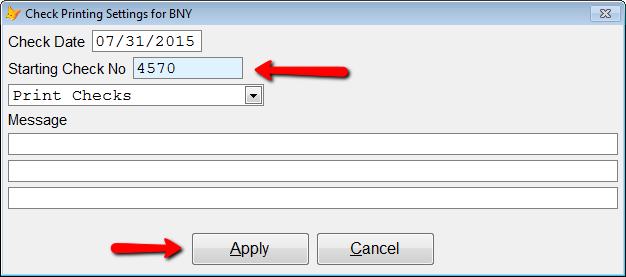
- Enter the Starting Check No, Check Date, and optional Message, then click Apply to continue.
- Choose Printer from the print menu.
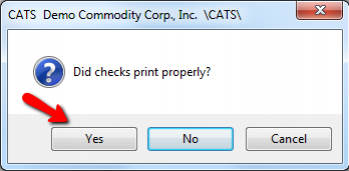
- When asked if checks printed properly, select Yes to confirm attaching the check number to the transaction or No to reprint checks.
Setting up the Check Format
Before attempting to print checks for the first time, the Supervisor should set up the check format.
First, print a check from CATS (see the instructions above or below) to a piece of paper or a voided check. Line up the paper check with a blank check to see which items need to be moved.
From the pending disbursements scan, select Check Format from the toolbar menu.
You will be asked to enter a system password to proceed. Type the system password and press the [Enter] key.
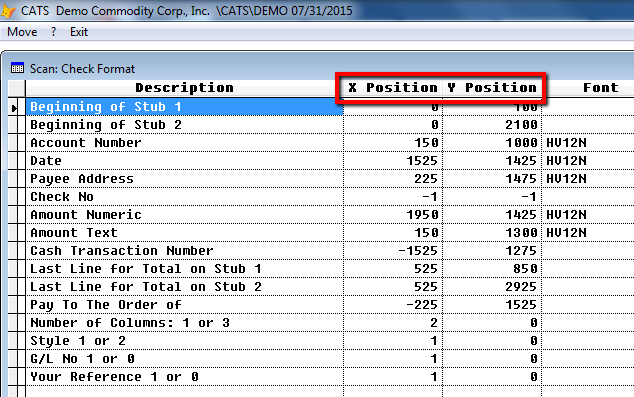
Next, CATS will display the current check format for the check and top and bottom stubs. Use the “X Position” and “Y Position” values to move the description (words that appear on the check) so they line up with your company’s check style.
When finished, pick Exit and print another paper or voided check to verify that the format is correct.
Printing Checks from CATS
You can print checks for any unposted disbursements that have an account code attached to them.
From the pending disbursements screen, select Print Check > One Transaction, Select Range, or All.
If you have selected One Check, the transaction you currently have highlighted will be the one printed.
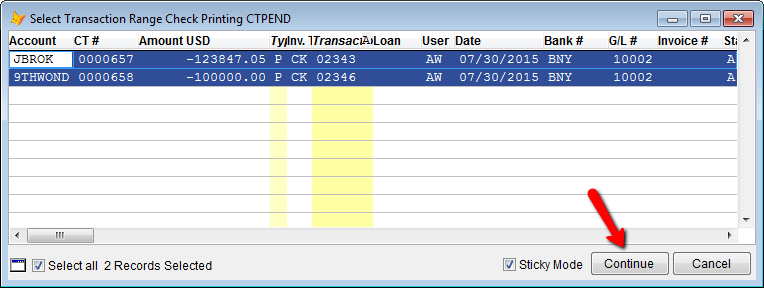
If you chose Select Range, you will be asked to select multiple transactions from a chooser. Pick transactions and click the Continue button to proceed.
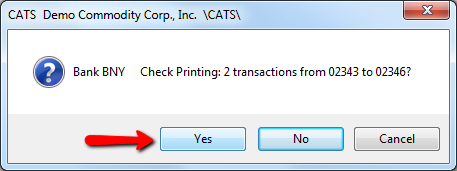
CATS will ask you to confirm that you wish to print these checks, stating the Jr Trn number, which is visible in the pending transactions scan. Select Yes to proceed with the printing process or No to cancel printing.
On the next screen, fill in the Starting Check No, Check Date, and any Message that you want to appear on the printed check. This message does not save from printing to printing.
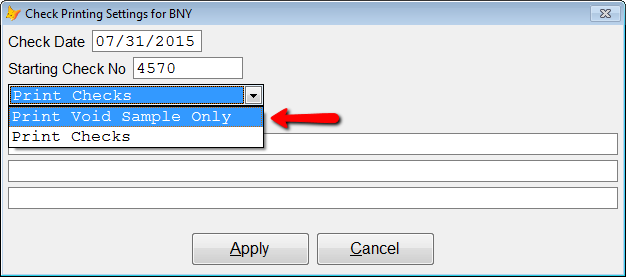
From the drop-down box pick Print Checks to print a check, or Print Void Sample Only to print a sample to paper. Click the Apply button to proceed.
Choose Printer from the print menu to print out the checks. The HTML option is not formatted for printing checks.
After printing has concluded, CATS will ask you if the checks printed properly. Select Yes to return to the pending disbursements scan or No to attempt printing the check again.
CATS will attach the check number to the pending disbursement and fill in that field on the scan, as shown in the image below.
When finished, either void the checks if you intend to reprint them or post the disbursement.

