Vendor Order Invoices
Vendor Order Invoices are an efficient way to generate accurate payables from the vendor order items created and entered during a contract's trading and traffic process. Building a vendor order invoice from the vendor order items acts as an implicit verification of vendor charges.
Creating a Vendor Order Invoice
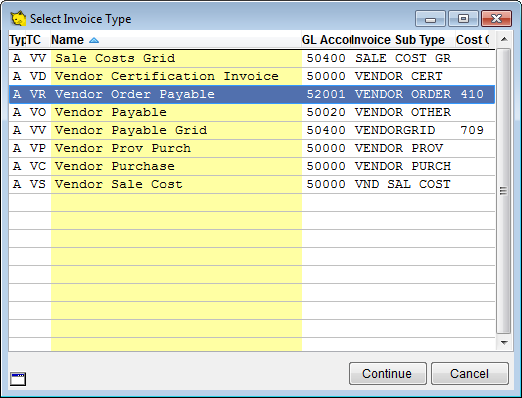
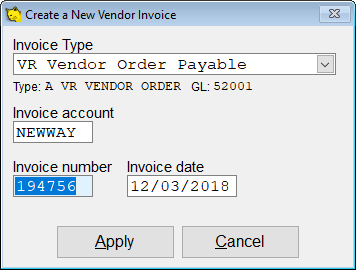
Create a new vendor invoice and select the “VR” invoice type.
Enter the invoice number and the date.
On the main invoice screen, instead of “SInv” (Select Inventory) the menu has an option “SOrd” (for Select Order). Click on the “SOrd” menu option to enter a scan that displays all the unpaid Vendor Orders for the counterparty on this invoice.
The scan lists all unpaid vendor orders on a container-by-container basis.
The on-screen search dialog allows filtering the list to find a specific container or traffic detail.
You can filter by
- Traffic form - Enter the type and number.
- Code - Cost code.
- Purchase - Purchase contract number.
- Sale - Sale contract number.
- Container.
- ICO Marks - Use one, two, or three fields of ICO marks to filter the list.
- Warehouse receipt.
- BL# - Bill of Lading number on the traffic screen.
It also displays status information so the user can see the current total amount of the VR they are creating and the total for the currently selected line.
Selecting Vendor Order Invoice Items
1. As with paying disbursements and receipts, you can specify an alternative amount to pay on a line-by-line basis by entering the amount to put on the invoice directly in the scan.
2. You can choose “Pick” from the menu to pay the currently selected line at its calculated price.
3. You can select “Pick VO” to pay all containers for a particular vendor order item. This means that all containers that fit this vendor order will be selected.
4. Use “Pick Form” to select all vendor order line items from the traffic form displayed in the form number column.
Changing the Vendor Orders from the Invoice
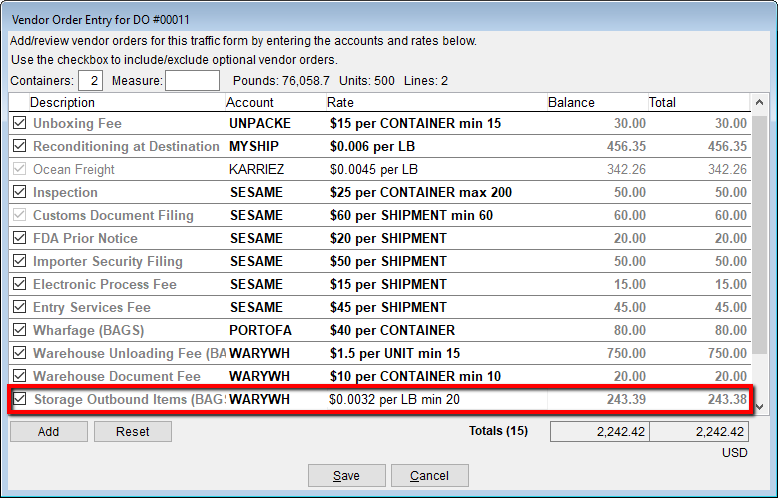
Occasionally, the charges on the vendor invoice will need to be adjusted when entering the vendor invoice (e.g. to correct an entry mistake). This can be done in the Select Order scan by selecting the line item for the vendor order you wish to edit and choosing Tools > Edit Vendor Order from the menu.
CATS will display the dialog showing all the vendor order items from the original traffic form for the order line item you picked. From here, you can modify the vendor order as long as it has not already been charged on an invoice and it is for the currrent invoice's account.
Finishing the Invoice
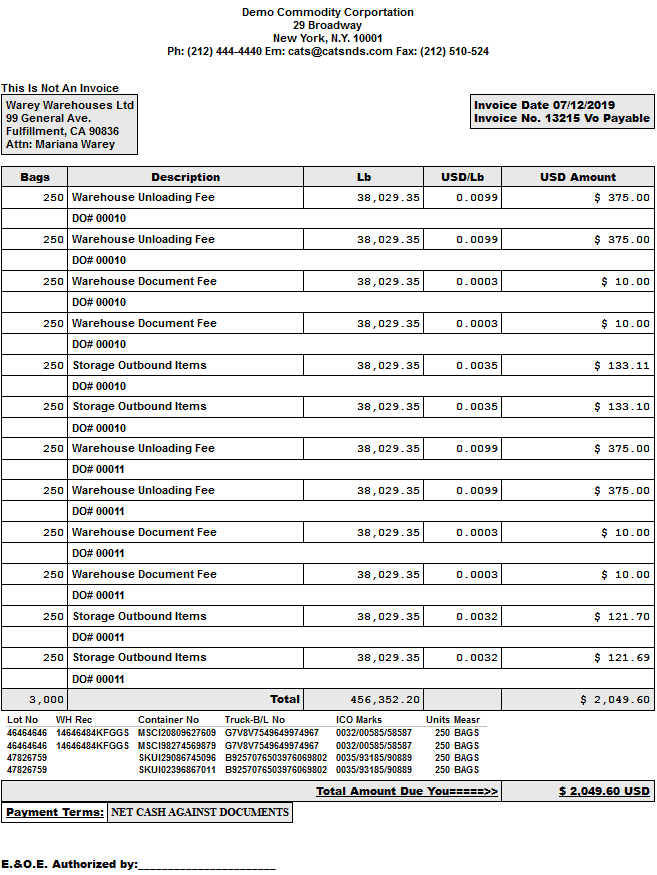
Once the vendor order items have been picked, exit the scan and CATS will populate the invoice to match the vendor order details selected. Print and post the invoice as normal.
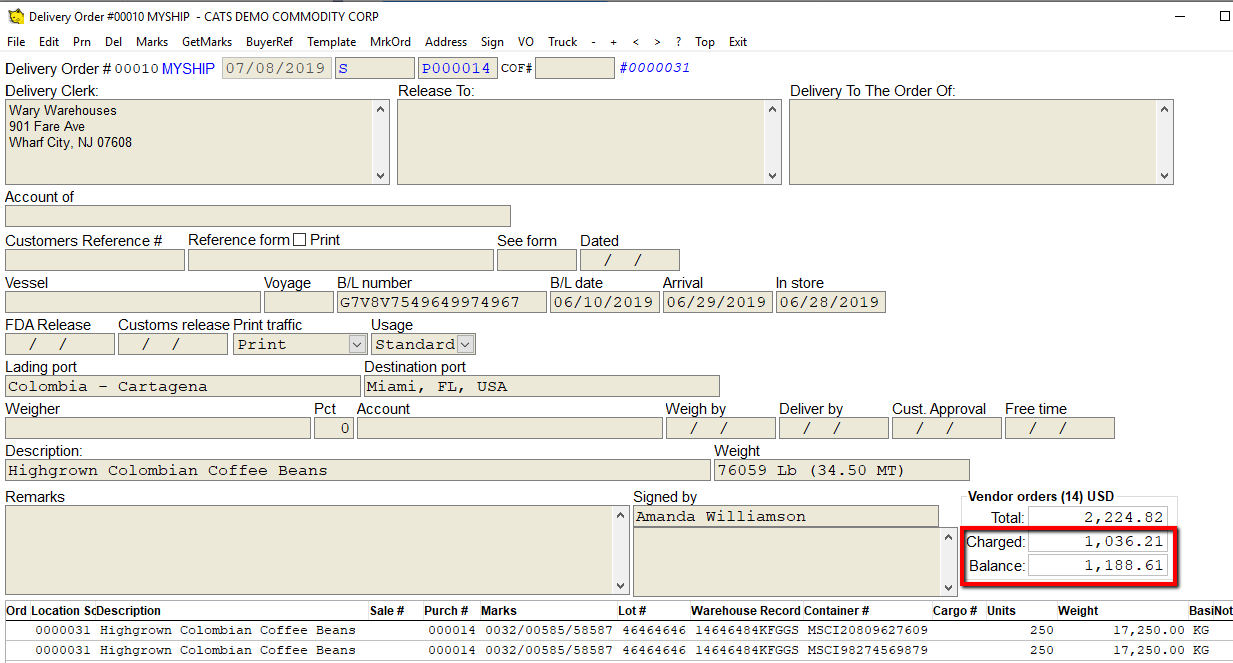
The traffic forms affected by this invoice will also be updated to show the Charged amount in the VO summary section.
Additionally, the charges will be posted against the related location screens, meaning the charge information can be incorporated into Inventory Transaction reports.
